Showing posts with label protein. Show all posts

Monday, March 9, 2015

Mixed Berries & Banana Smoothie Bowls

If you follow me on instagram (& you should, it’s fun!) you’ll already know that I’ve been hitting the smoothie bowl train as of late. A smoothie bowl is simply a smoothie served in a bowl eaten with a spoon. The possibilities of ingredients for smoothie bowls are endless.  I like to top them with the same ingredients I use in the the smoothie portion for three reasons: (1) it looks really pretty, (2) it adds texture, (3) it’s a clear indicator of what’s blended up in the smoothie. If you don’t have time to arrange the toppings in neat little rows it will still taste the same. I like taking the extra time to make it look pretty because it makes me zen in the morning when I prepare breakfast. In case you’re wondering, Chris likes these too.

This first smoothie bowl recipe I’m sharing is a good gateway smoothie bowl because it’s sweet & familiar. So if you’re trying to work more fruit & protein into your breakfast routine this is the way to do it.

If you make your own smoothie bowls, I’d love to know what you put in yours. Please comment below!

Tuesday, June 17, 2014

Better Home Cooking Basics: #30 To Ensure a Good Sear, Make Sure Your Protein is Dry & Your Oil is Hot

Have you ever said wow that rubbery colorless chicken looks delicious? Probably not. If you're like me you like the outside to be golden, if not crispy.

You eat with your eyes first so make sure your protein, whether it's steak, chicken, scallops, etc., is love at first site with a nicely seared exterior.  To make sure this happens dry your protein off as best you can, blot it with paper towels - it should do the trick. Then make sure your oil is hot & you'll get a better sear each time. Another great reason to make sure your protein is dry is to avoid oil splatter - which OUCH hurts! Happy searing!

Get more of my better home cooking basics here

Friday, September 7, 2012

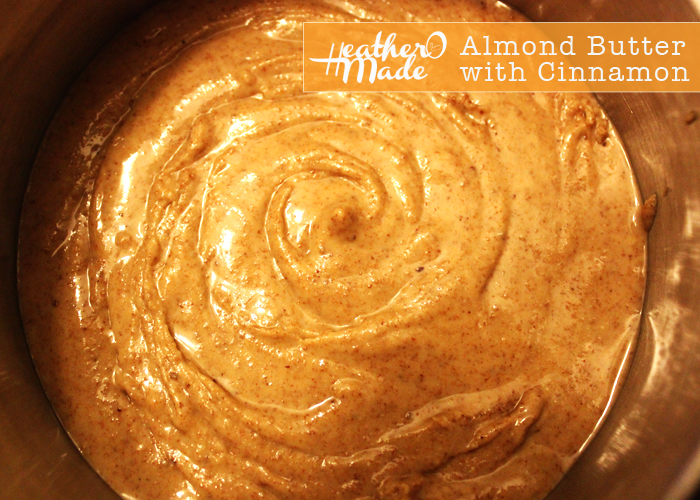
Almond Butter with Cinnamon


Last night was Fashion's Night Out, but I opted to go home & make butter out of nuts. (God I'm getting old!)

But seriously, ever walk by the fresh peanut butter machine in your grocery store & think I should do that at home with my food processor? [crickets, do I hear crickets?]

Ok, so maybe I'm alone here but I'm into eating non-chemically things, I think they just taste better (& give me better peace of mind & don't have crazy side effects). So I give you HeatherOMade Almond Butter with Cinnamon. 

Ingredients:
  • 3 cups raw almonds
  • 1 teaspoon salt
  • 1 teaspoon cinnamon

Make it!
  1. Add whole almonds to food processor.
  2. Blend well. At first it will look like almond powder, keep blending.
  3. Scrap the sides of the food processor occasionally.
  4. Add cinnamon & salt when large clumps form.
  5. About 15-20 minutes later you'll have rich creamy almond butter.
  6. Store in an air tight container in your fridge.

Things I plan to do with my almond butter:
  • eat it with slices of green apple
  • make these yummy treats
  • swirl it with vanilla ice cream
  • spread it on some bread & top it with honey & sliced bananas